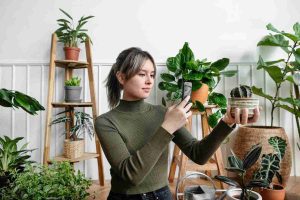
When I first started keeping plants at home, I just placed them wherever I thought they looked nice. But soon, I noticed some plants grew fast and strong, while others stayed weak or lost their color. That’s when I learned the secret – it’s all about how to arrange plants in your home for maximum growth.
Now, I always think about light, space, and airflow before placing a plant. Some love bright windows, while others prefer shade. Some need room to grow wide, while others like hanging from shelves. After a few trials (and a few sad plants), I found the best way to set them up for strong, healthy growth.
If you’ve been wondering why some of your plants don’t grow well, it might be the way they’re arranged. In this guide, I’ll show you exactly how to arrange plants in your home for maximum growth using simple steps that worked for me. Let’s grow together!

My First Mistake: Random Placement
When I started keeping plants, I placed them anywhere. I didn’t think much about light or space. I just wanted them to look pretty. But soon, some plants started turning yellow. Others looked weak and droopy. I realized I needed to change something. Plants need the right place to grow well. You can’t just put them anywhere. Each plant is different and needs different care.
I started learning about their needs. I checked how much light each one liked. I moved my sun-loving plants to brighter spots. I placed low-light ones in shadier corners. The change made a big difference. My plants looked happier and started growing better. Random placement doesn’t work for long. Plants are like pets. They need love and the right home.
Once I stopped placing them randomly, I saw growth. I now take the time to choose the best spot. It’s not just about looks. It’s about giving the plant what it needs. Always check a plant’s needs before choosing a spot. That was my first big lesson.
Grouping Plants by Light Needs
I used to mix all kinds of plants together. Some liked bright light. Others preferred shade. That didn’t work well. The bright-light ones grew fine. But the shade-lovers started to suffer. I didn’t want to lose any of them. So, I decided to group them by light needs. I made three groups—low light, medium light, and bright light.
I put the bright-light plants near South-facing windows. The medium-light ones went in East or West windows. The low-light plants were happy in North-facing corners. This simple trick helped me a lot. The plants stopped looking weak. Their leaves turned green and healthy again. They even started blooming more often. I could see the change every day. Grouping made watering easier too. I knew which group needed more care. I didn’t have to guess anymore.
This way, I saved time and energy. Most of all, I saved my plants. Now I always check the light needs before buying a plant. Then I plan where it will go. Grouping by light is one of my best tips.
Giving Each Plant Enough Space
One big mistake I made was crowding my plants. I thought they looked cute close together. But that created problems. Air couldn’t flow between them. Some plants got mold on the soil. Others had yellowing leaves. I learned that plants need space to breathe. Just like people, they need room to grow. I started spreading them out more.
I gave each plant its own area. Not too close, not too far. I also checked the mature size of each plant. Some grow big over time. I didn’t think of that before. Now I plan ahead. I leave space for each plant to grow fully. This helps them stay healthy and look better. I also rotate them every few weeks. That way, all sides get enough light. Spacing also makes watering easier.
I don’t miss any plants anymore. When they were crowded, I often forgot some. With more space, it’s easier to care for them. So always give your plants room. They’ll reward you with strong growth and bright leaves. It’s one simple thing that makes a big difference.
Using Plant Stands and Shelves
My windows started filling up fast. I had no space left. But I still wanted more plants. So I started looking up—literally. I used plant stands and wall shelves. That saved floor space and looked amazing. It turned my room into a little jungle. I placed tall plants on the floor. Smaller ones went on stands and shelves.
I made sure each plant got enough light. Stands helped with that. I could place plants at different heights. That way, they didn’t block each other. I also made sure the shelves were near the windows. That gave the plants enough light. I found that some stands had wheels. That made moving plants easier. I could roll them to clean or adjust the light.
Shelves also helped group small plants together. It made watering easier. I love how it all looks now. My space feels fresh and full of life. Using vertical space changed everything for me. If your floor is full, go up. Use shelves, stands, and even hanging pots. You’ll find room for more plants than you think.

Rotating Plants for Even Growth
One day, I noticed my plants were leaning. All the leaves faced one side. It looked strange and messy. I didn’t know what was wrong. Then I learned that light makes them grow toward it. That’s called phototropism. I realized I had to rotate them.
So now, I turn each plant a little every week. I do it when I water them. That helps me remember. Rotating keeps them growing straight. It also helps all sides get light. The plants look fuller and healthier. No more leaning or lopsided growth. I even mark the pots to track turns. It’s a small step but it works well. Rotating also helps with pests.
I can check the leaves better. I see if there are bugs or dry spots. Some people forget this step, but not me. I’ve seen what happens if I skip it. Rotation keeps my plants balanced and strong. Try it and see the change. It’s one of the easiest things you can do. A simple turn can mean a big difference.
Choosing the Right Pots and Trays
I used to buy pots just because they were cute. I didn’t think about size or drainage. That was a mistake. Some plants outgrew their pots fast. Others had soggy roots. I learned the hard way that the right pot matters. First, every pot needs a drainage hole. Water must flow out. If not, roots rot. I also learned to use trays under pots. That keeps my shelves clean.
I now choose pots based on plant size and type. Big roots need big pots. Tiny ones stay in small ones. I also check if the pot material fits the plant. Clay pots dry faster. Plastic ones hold more water. Some plants like dry soil. Others like moist soil. The pot makes a difference. I also check the depth of the pot. Deep pots are better for some roots.
Shallow ones work for others. Picking the right pot helps plants grow strong. It keeps them from getting sick. So don’t buy a pot just for looks. Think about the plant first. The right pot makes all the difference.
Matching Humidity to Plant Needs
Some of my plants started turning brown at the edges. I thought I was watering wrong. But I was doing everything right. Then I learned about humidity. Some plants need more moisture in the air—especially tropical plants. My home was too dry for them. I started using a small humidifier near them. I also grouped them together. That helped raise the humidity.
I even placed trays of water nearby. The water slowly evaporated into the air. It made a big difference. The leaves stopped turning brown. New leaves grew faster. Matching humidity helped my plants a lot. Some plants don’t need much humidity. They do fine with dry air. So I don’t group them with the tropical ones.
I now read about a plant’s humidity needs before placing it. If it needs more, I give it more. It’s that simple. You don’t need fancy tools. Just a few tricks can raise humidity. Your plants will show you they’re happy. Always check for brown leaf tips. That’s often a sign of low humidity.
Creating a Watering Schedule
At first, I watered my plants whenever I remembered. That didn’t work. Some got too much water. Others didn’t get enough. I started seeing brown spots and drooping leaves. I knew I had to fix my watering. So I created a simple schedule. I checked each plant’s needs. Some needed water every few days. Others only once every week or two. I wrote it down.
I used my phone to set reminders. I also learned to check the soil first. If it’s dry one inch down, I water it. If it’s still wet, I wait. The schedule helped me stay consistent. My plants responded well. They looked stronger and healthier. I also stopped overwatering. That saved a few plants from root rot. Now, watering is not stressful. It’s part of my routine.
Creating a schedule is one of the best things I’ve done. It helps me give each plant the care it needs. If you’re unsure, start with once a week. Then adjust based on how your plants react. Trust your eyes and your fingers.
Using Natural Light Wisely
Natural light is free and perfect for plants. But not all spots get enough light. I learned this after watching some of my plants struggle. I moved them closer to the windows. I also learned which windows were best. South-facing ones get the most light. North-facing ones get the least. East and West are in the middle.
I arranged my plants based on their light needs. The sun-lovers went near bright windows. The shade-lovers stayed in softer spots. I also kept the windows clean. Dirty windows block light. I never noticed that before. Now I wipe them every week. Some days are cloudy. On those days, I move the plants closer. Using mirrors can also help.
They reflect light to darker corners. It’s a neat trick I use often. Curtains help too. I use sheer ones to soften harsh light. That keeps plants from getting sunburned. Using light wisely makes a big difference. It helped all my plants grow better. Pay attention to light. It’s as important as water and soil.
Plant Decoration in Living Room
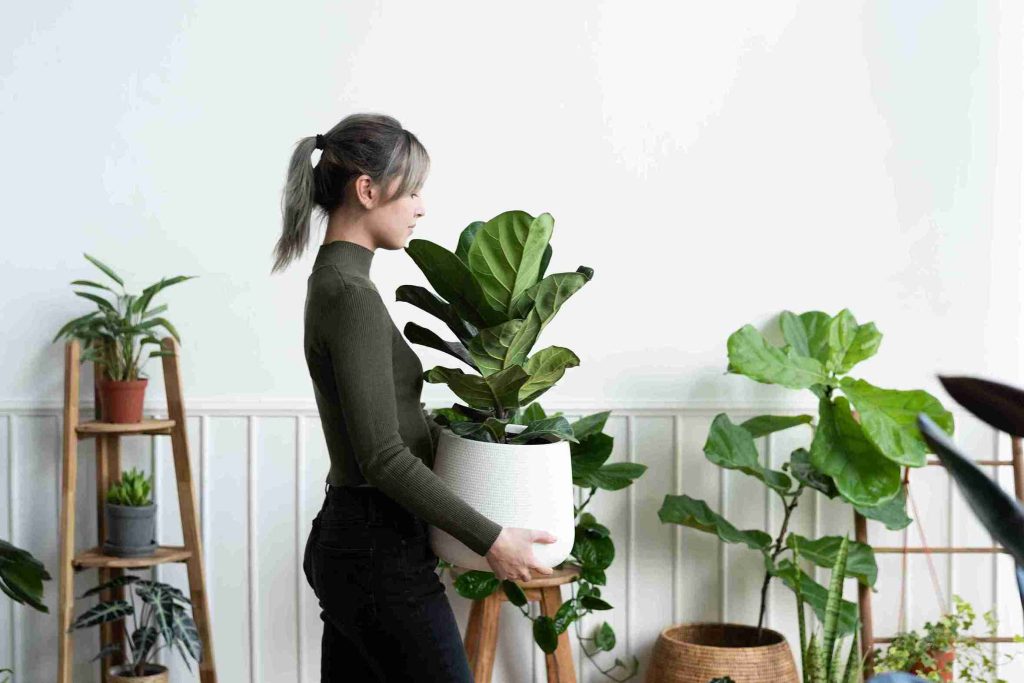
I love decorating my living room with plants. They bring so much life. I usually start by picking the right corners first. Corners with good natural light work best for tall plants. I placed my fiddle leaf fig near the window. It gets the morning sun and looks stunning. I also hang some trailing plants above the couch.
My pothos vines add a soft, green touch. On the coffee table, I use a small cactus or succulent. These don’t need much care but look adorable. I like to mix pots of different heights and textures. This creates balance without feeling too crowded. I avoid placing too many big plants in one spot. That can make the space feel cluttered and heavy.
I also use plant stands to add vertical interest. I often rotate plants around to keep the look fresh. Scented plants like lavender or mint make the room smell nice. I feel relaxed every time I walk into the room. The greenery gives a cozy, peaceful vibe. Decorating with plants changed how my living room feels. It’s now my favorite space to relax and unwind.
How to Arrange Flower Pots in the Garden
I start by sorting my flower pots by size and color. That makes arranging them much easier. I place taller pots toward the back of the garden. This lets smaller ones show up in front. I like to group pots in odd numbers. Three or five pots look more natural than four. I mix colors and textures for more visual interest.
Bright flowers go in neutral pots to make them stand out. I also use stands to add some height variation. That helps make the whole setup look layered and full. I keep shade-loving flowers under my patio roof. Sun-loving plants go in the sunny corners of the garden. I also place fragrant flowers near the seating area. Their scent makes my garden feel more welcoming. I water early in the morning to avoid sunburned leaves.
I clean the pots regularly to avoid dirt buildup. Changing plant positions from time to time keeps the look fresh. Flower pots let me change up my garden easily. I can move them around whenever I feel creative. Arranging them thoughtfully really makes my garden shine.
How to Arrange Plants in Landscaping
When I plan landscaping, I start with a clear layout idea. I choose a focal point like a tree or water feature. Then I build the plant arrangement around that point. I use tall plants or shrubs in the background. Medium plants come next, and short ones go in front. This layering adds depth and interest to the yard. I make sure to mix evergreen and seasonal plants. Evergreens give structure while flowers add color during bloom.
I like placing flowering plants near pathways or sitting areas. That way, everyone can enjoy the view and fragrance. I use symmetry in formal designs and asymmetry for a natural look. I always check how much sun each plant needs. Sun-lovers go in open areas while shade plants go under trees. I use stones, mulch, and borders to separate plant groups.
That keeps everything tidy and low-maintenance. I avoid overcrowding by leaving room for growth. I water and fertilize based on each group’s needs. A well-arranged landscape feels peaceful and polished. My yard looks beautiful, and it’s easier to care for.
How to Arrange Plants in a Small Garden
I have a small garden, so I use space carefully. I start by picking compact plants that don’t grow too wide. Vertical space helps a lot, so I hang pots on fences. I also use plant stands and shelves for height variety. Layering plants gives a fuller look without crowding the ground. I put tall ones in the corners and small ones at the front.
I group plants with the same sun and water needs. That way, caring for them becomes much easier. I place colorful flowers near the entrance for a cheerful vibe. I avoid placing pots where people walk or sit. I like using mirrors to make the space look larger. Reflecting green makes everything feel more open and lush.
I also prune plants regularly to keep them neat and tidy. I move pots around every few weeks to change the view. Even in a small space, plants can look amazing. With the right arrangement, a small garden can feel grand.
How to Place Plants in a Room
When I decorate a room with plants, I follow the light. I place sun-loving plants near windows where the light is strong. For darker corners, I use shade-loving or low-light plants. I avoid blocking windows completely with large leaves. I use tall plants to fill empty corners neatly. On shelves, I place trailing plants to soften the look.
I also like small pots on desks and tables for freshness. I group plants in odd numbers for a balanced feel. Matching pots with room colors keeps the look clean. I rotate the plants weekly to help them grow evenly. I wipe the leaves often to keep them dust-free. For bathrooms, I use humidity-loving plants like ferns.
In bedrooms, I prefer air-purifying plants like snake plants. I always keep a tray under pots to avoid water stains. Plants really brighten up any room and make it feel alive. They add calm, color, and joy to everyday living.
Conclusion:
At first, I tried to copy plant setups I saw online. They looked pretty but didn’t work for me. My space was different. My time was limited. I realized I needed a setup that fit my life. I arranged plants where I spend time. That way, I see them often. I notice if they need water or light. I placed some in the kitchen and some in the bedroom.
Each spot has plants that fit the light and care level. I also made sure I could reach them easily. No more climbing on chairs to water them. I use simple pots and easy-care plants. I love how they fit into my life now. It feels natural and stress-free. Plant care became joyful, not a chore. I found a rhythm that works for me. And that’s the most important part.
Your plant setup should match your lifestyle. Not the other way around. Start small, learn, and grow. Your home will feel more alive, and so will you.
FAQ
How to group houseplants or maximum health
Group plants with the same light and water needs together. This helps them grow well and makes care easy for you.
Plant arrangement tips for small apartments
Use corners, shelves, and walls to save floor space. Choose small pots or hanging plants to keep the room open.
How to layer plants indoors for light
Place tall plants in the back and short ones in front. This way, all plants get enough light without blocking each other.
Arranging plants by light requirements
Put sun-loving plants near bright windows for strong light. Keep low-light plants in shaded spots or deeper into the room.
Indoor plant placement for natural sunlight
Place plants close to windows that get soft, bright sunlight. Rotate pots often so all sides get equal sun.
How to use plant stands for better growth
Plant stands lift pots for more air and light exposure. They also stop plants from sitting in soggy spots on the floor.
Mixing tall and short plants in a room
Use tall plants in corners and short ones on tables. This mix adds beauty and lets all plants get enough light.
Arranging plants in corners for growth
Put larger plants in corners with enough space and light. Make sure they don’t get blocked by furniture or walls.
How to avoid overcrowding houseplants
Leave space between pots so air can move around plants. Crowding can trap moisture and cause mold or pests.
Using shelves for indoor plant display
Shelves save space and keep plants off the floor. Arrange them by size and light needs from top to bottom.
Hanging plants at different heights indoors
Use hooks to hang plants at high, middle, and low levels. This gives a layered look and helps light reach each plant.
How to create a focal point with plants
Place a large, eye-catching plant in the center of a group. Add smaller plants around it to draw attention.
Arranging plants for better air circulation
Keep some space between each pot for air to flow. Good airflow keeps plants dry and free from disease.
Best layout for potted plants in the living room
Put big plants near furniture and small ones on shelves or tables. Spread them around for a cozy, green feel.
How to arrange plants in front of windows
Set shorter plants close to the window and taller ones behind. This way, all plants can enjoy the sunlight.
Rule of three for plant arrangement
Group three plants with different heights or shapes together. This makes the space look balanced and more natural.
Combining plant shapes and textures indoors
Mix leafy, spiky, and round plants to add visual interest. Different textures make your plant corner look more fun.
Arranging plants for humidity-loving species
Group moisture-loving plants like ferns in one spot. Put a tray of water nearby to boost humidity levels.
How to maximize vertical space with plants
Use hanging pots, wall planters, and tall shelves for plants. This saves space and lets you grow more indoors.