Repotting an indoor plant used to scare me. I thought I might hurt the roots or cause the plant to droop. One time, I moved a healthy plant into a bigger pot, and the next day, it looked sad and weak. That’s when I learned about transplant shock. Now, I always follow a few simple steps to keep my plants happy during repotting.
I found out that when I stay gentle and prepare everything ahead, things go much smoother. Choosing the right pot, using fresh soil, and handling the roots with care really help. My plants now grow better and look fresher after repotting.
If you also feel nervous about repotting, don’t worry. I’m here to share how to repot an indoor plant without causing shock. These tips come from my own experience, and they truly work. Let’s make your plant’s move stress-free and safe!
What Is Plant Transplant Shock?
I once moved my favorite fern to a bigger pot. The next few days, it looked weak and sad. That’s when I learned about transplant shock. Transplant shock happens when a plant gets stressed after moving. It struggles to adjust to its new home.
The roots get disturbed during transplanting. They can’t take in water or nutrients properly. So, the plant shows signs of stress. It might stop growing or drop leaves. The root system needs time to recover and adapt. Until then, the plant might look unhealthy or weak. It’s common and treatable with the right care.
What Does Plant Transplant Shock Look Like?
I noticed my plant drooping right after the move. The leaves started to wilt and curl. Some turned yellow or brown overnight. It also stopped growing completely. In some cases, leaves dropped off suddenly. The soil stayed wet, but the plant stayed limp.
These are clear signs of transplant shock. It means the plant isn’t absorbing water. The roots are stressed and trying to heal. Some plants look worse than others. But if you catch the signs early, you can save them. Always watch your plant closely after transplanting.
Why I Needed to Repot an Indoor Plant
One day, I noticed yellow leaves on my plant. The soil dried too fast. I knew something was wrong. I checked the pot and saw roots coming out. That meant the plant outgrew its pot. I decided to repot it. I felt nervous but wanted to help.
I had never repotted a plant before. I watched videos and read tips online. I chose a quiet afternoon to do it. I got a new pot that was a bit bigger. I also bought fresh potting soil. I wanted my plant to be happy. I took my time and worked slowly. I didn’t want to hurt the roots. I tried to stay calm during the whole process. I talked to my plant like a friend.
I felt better when I finished. The plant looked strong in its new pot. After a week, new leaves started growing. I felt proud and happy. That’s how I knew I did it right. Now I’m not scared to repot anymore. I learned that it helps the plant grow better. Repotting is a way to show love. I now check my plants often to see if they need more space.
Choosing the Right Time and Tools
I learned that timing is important when repotting a plant. I always repot during spring or early summer. That’s when plants grow the most. I don’t repot in winter because plants rest then. I gather my tools before I start. I use gloves, a trowel, and clean scissors. I also keep newspaper under the pot. It keeps the floor clean.
I chose a new pot that is 1-2 inches bigger. I never pick a huge pot. That can shock the roots. I make sure the new pot has drainage holes. Plants don’t like soggy soil. I pick good potting mix, too. I don’t use garden soil. It’s too heavy for indoor plants. I also keep a water bottle nearby. Plants need a little water after repotting. I make sure the tools are clean.
Dirty tools can spread bugs or mold. I even wiped down the new pot. I do everything slowly and gently. That helps my plant feel safe. I try to work in a bright room but not under direct sunlight. It keeps the plant from drying out. With the right time and tools, repotting feels easy. I feel more confident each time I do it.
How I Removed the Plant Safely
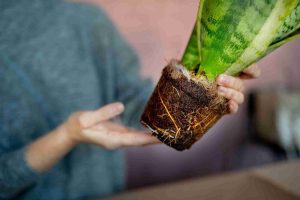
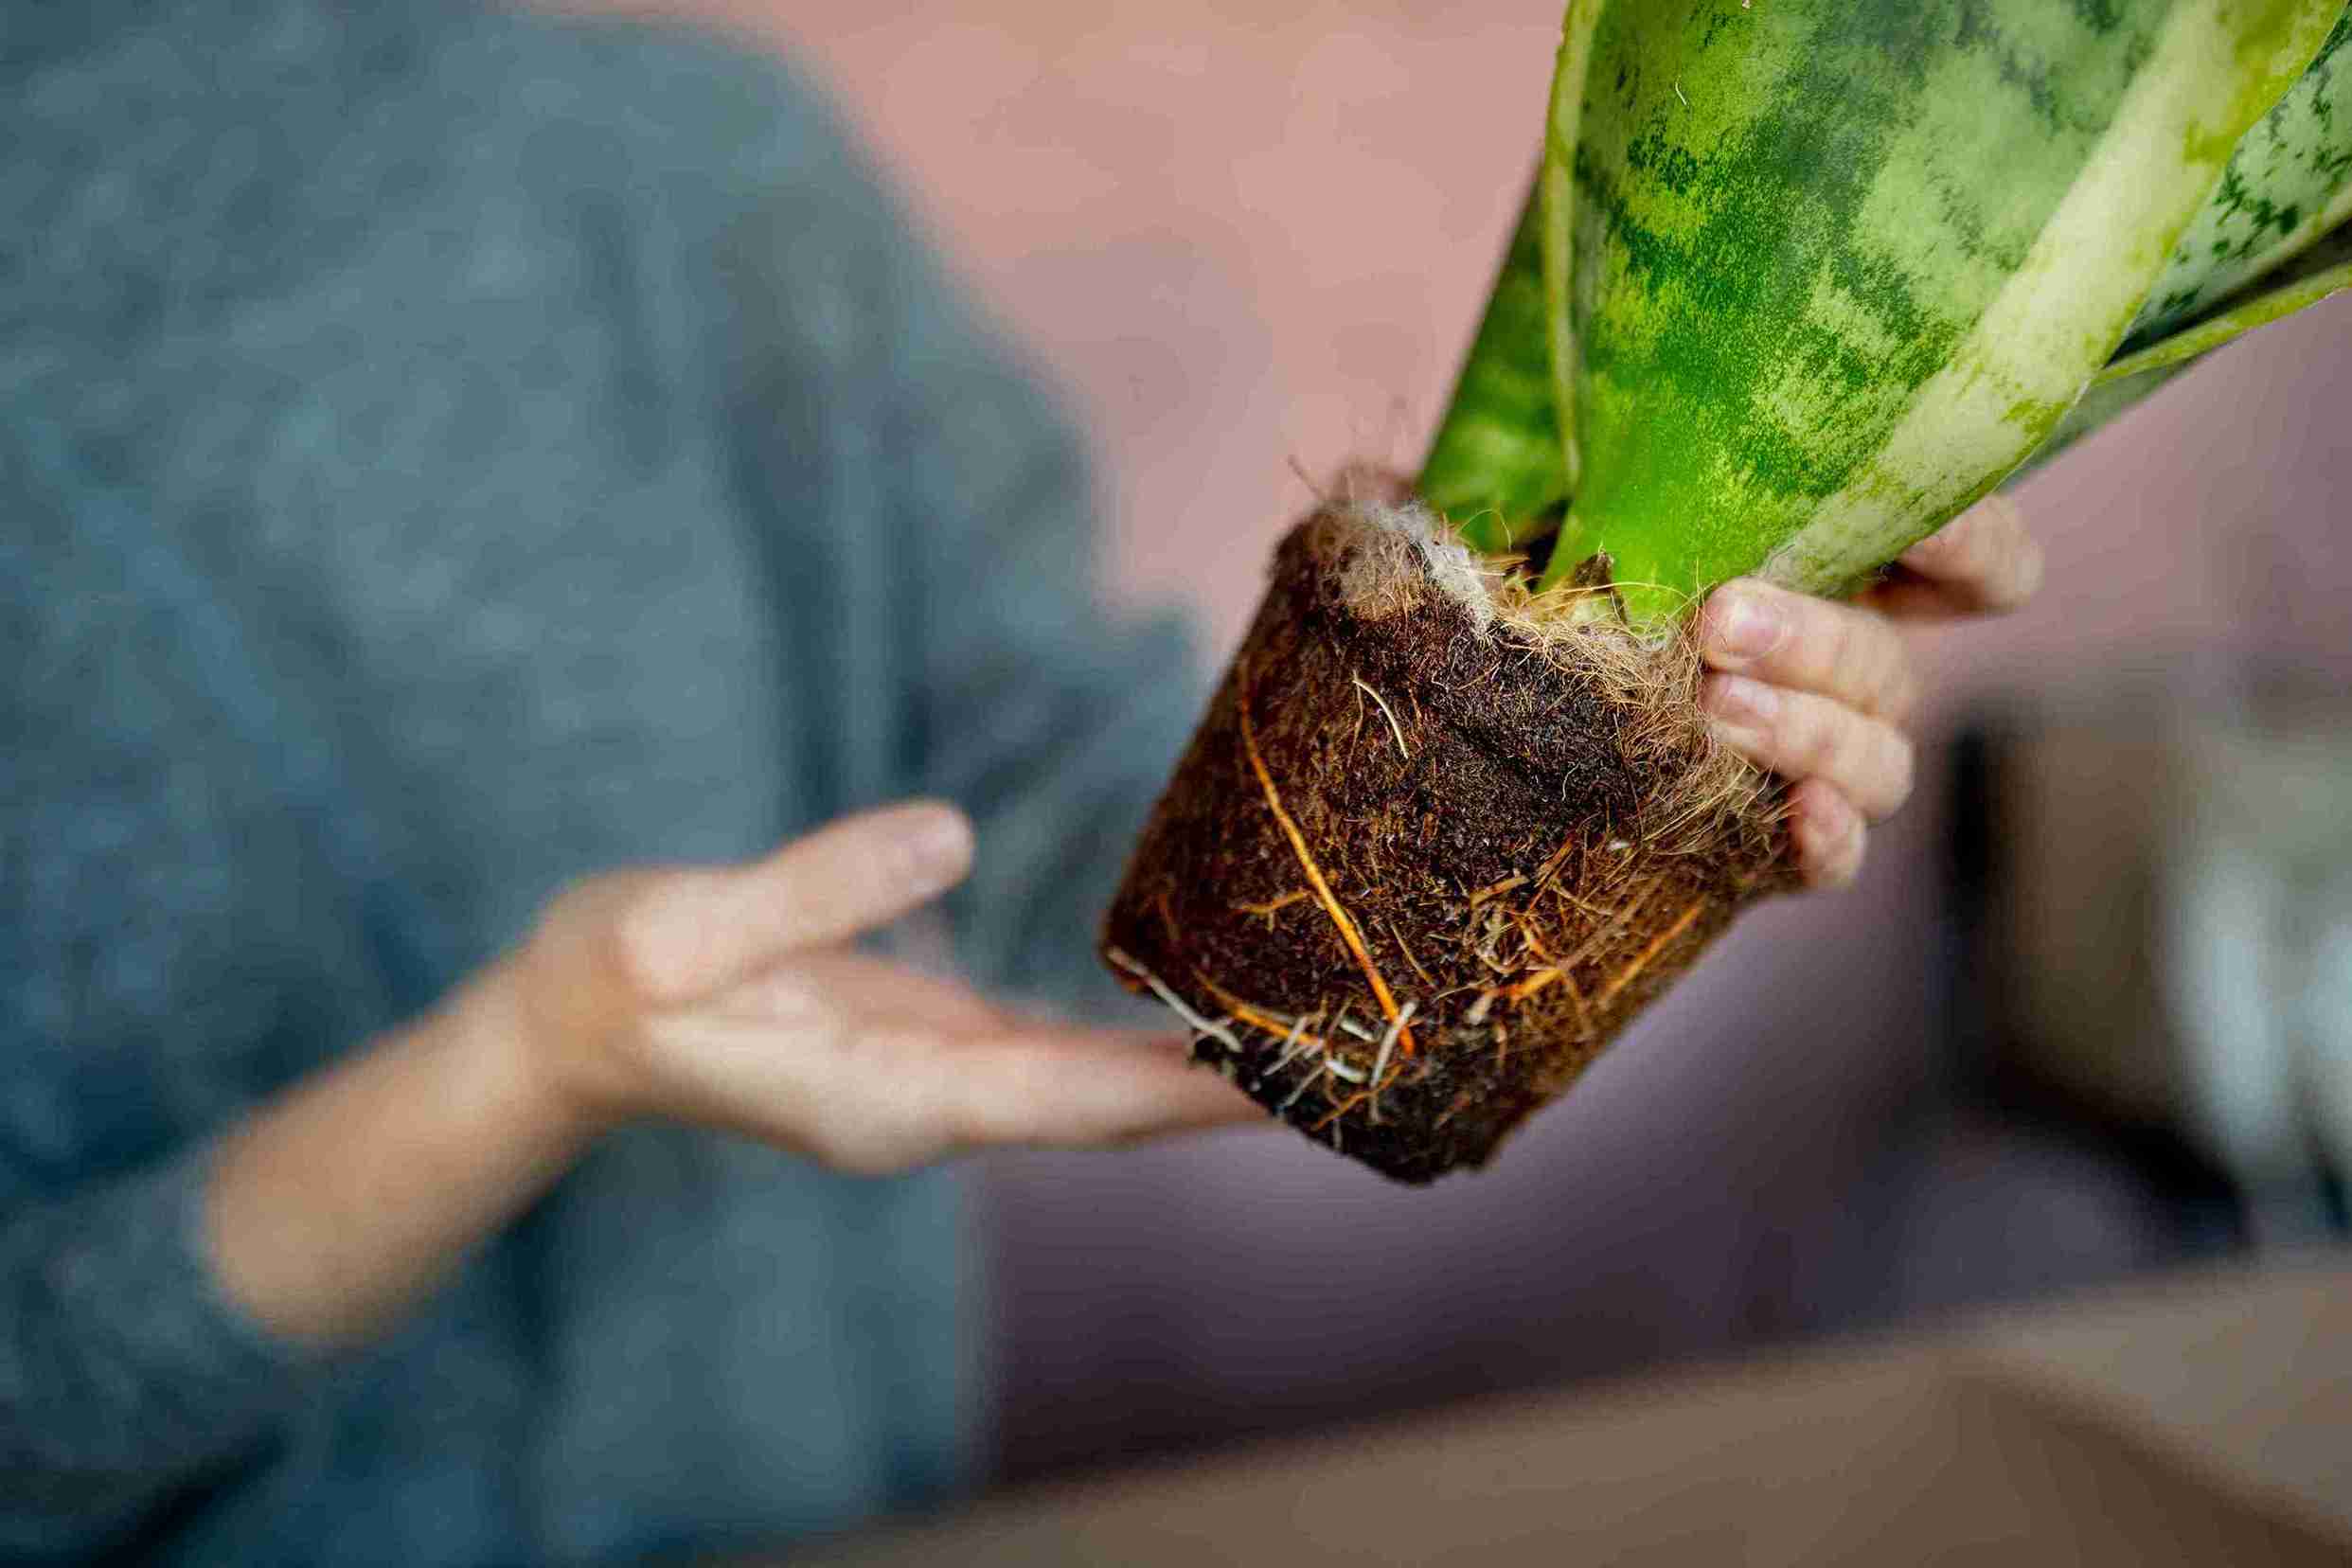
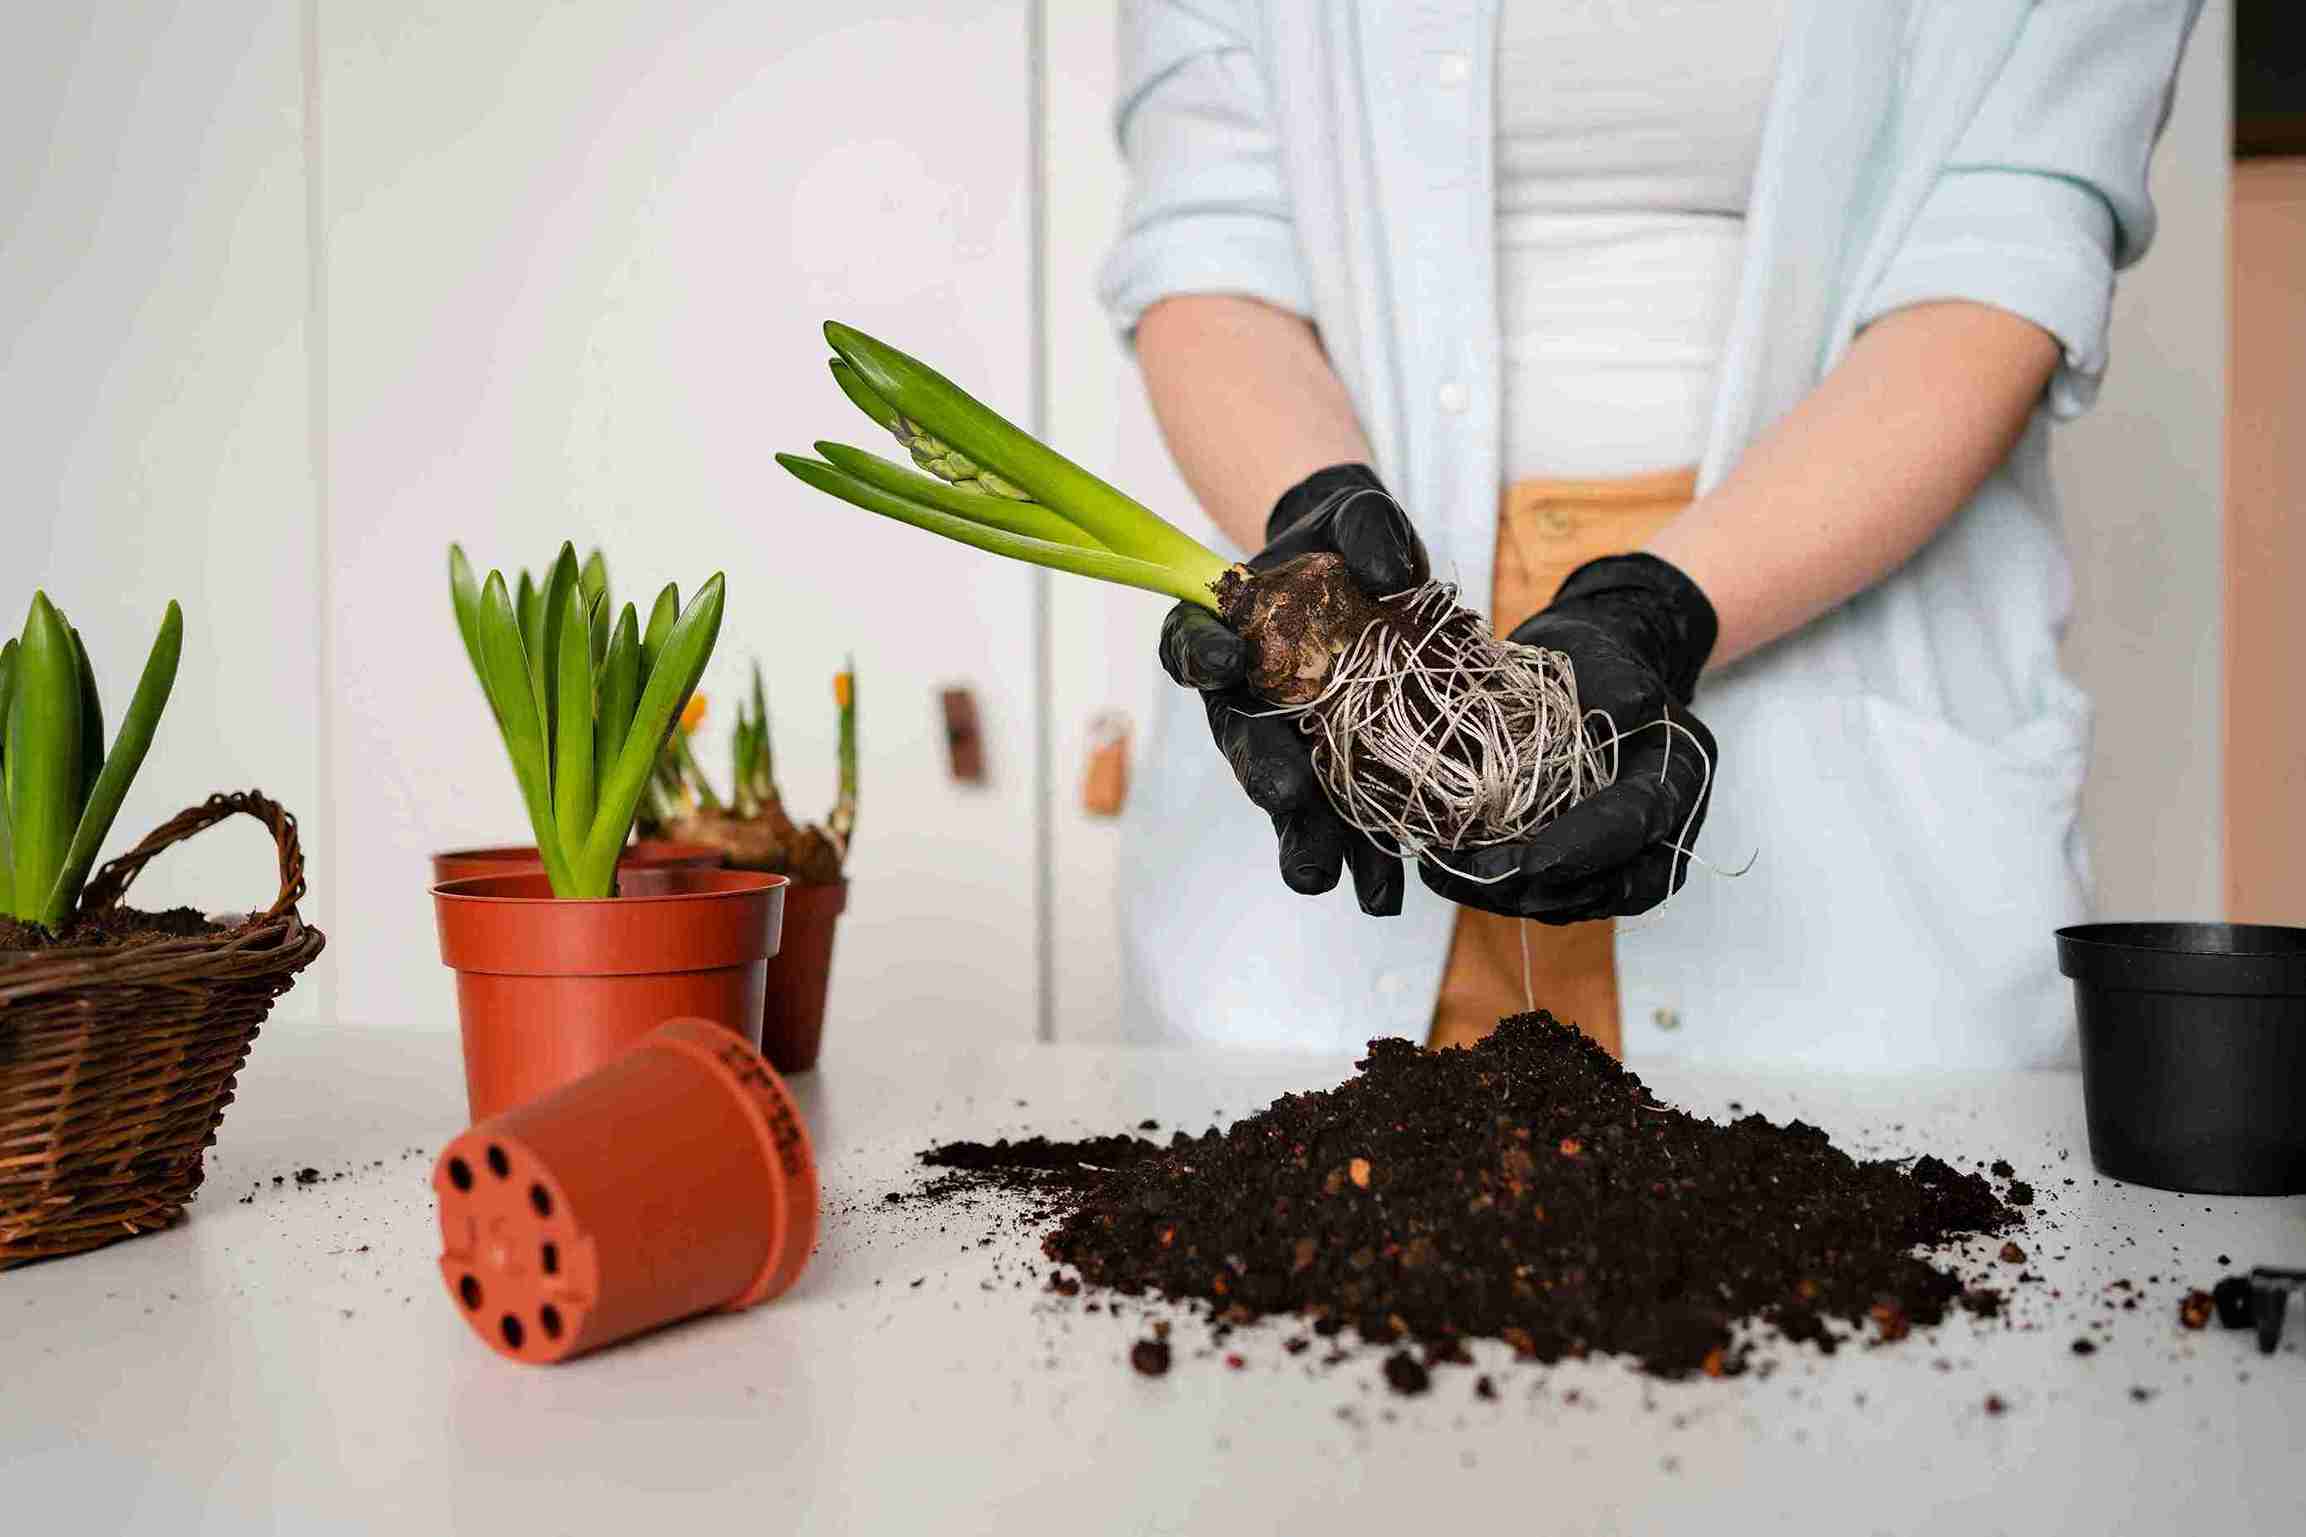
Taking the plant out of its old pot scared me at first. I didn’t want to break the roots. I tipped the pot sideways and tapped it gently. I held the base of the plant with care. Slowly, I pulled the plant out. If it got stuck, I squeezed the pot sides. That helped loosen the soil. I never yank or pull hard. That can hurt the roots. Once the plant came out, I looked at the roots.
I trimmed the brown and dead ones with clean scissors. I left the healthy roots alone. They looked white and firm. I also shook off the old soil gently. I didn’t wash the roots unless they looked very dirty. I checked for bugs, too. If I saw any, I removed them with my hands. I felt calm and took my time. The plant seemed relaxed, too. It didn’t wilt or droop.
I learned that patience helps a lot during this step. When I finished, the plant looked ready for a new home. I smiled and felt proud. Removing the plant right helps avoid shock. It makes repotting feel like a kind act. My plant always does better when I take my time.
Placing the Plant in the New Pot
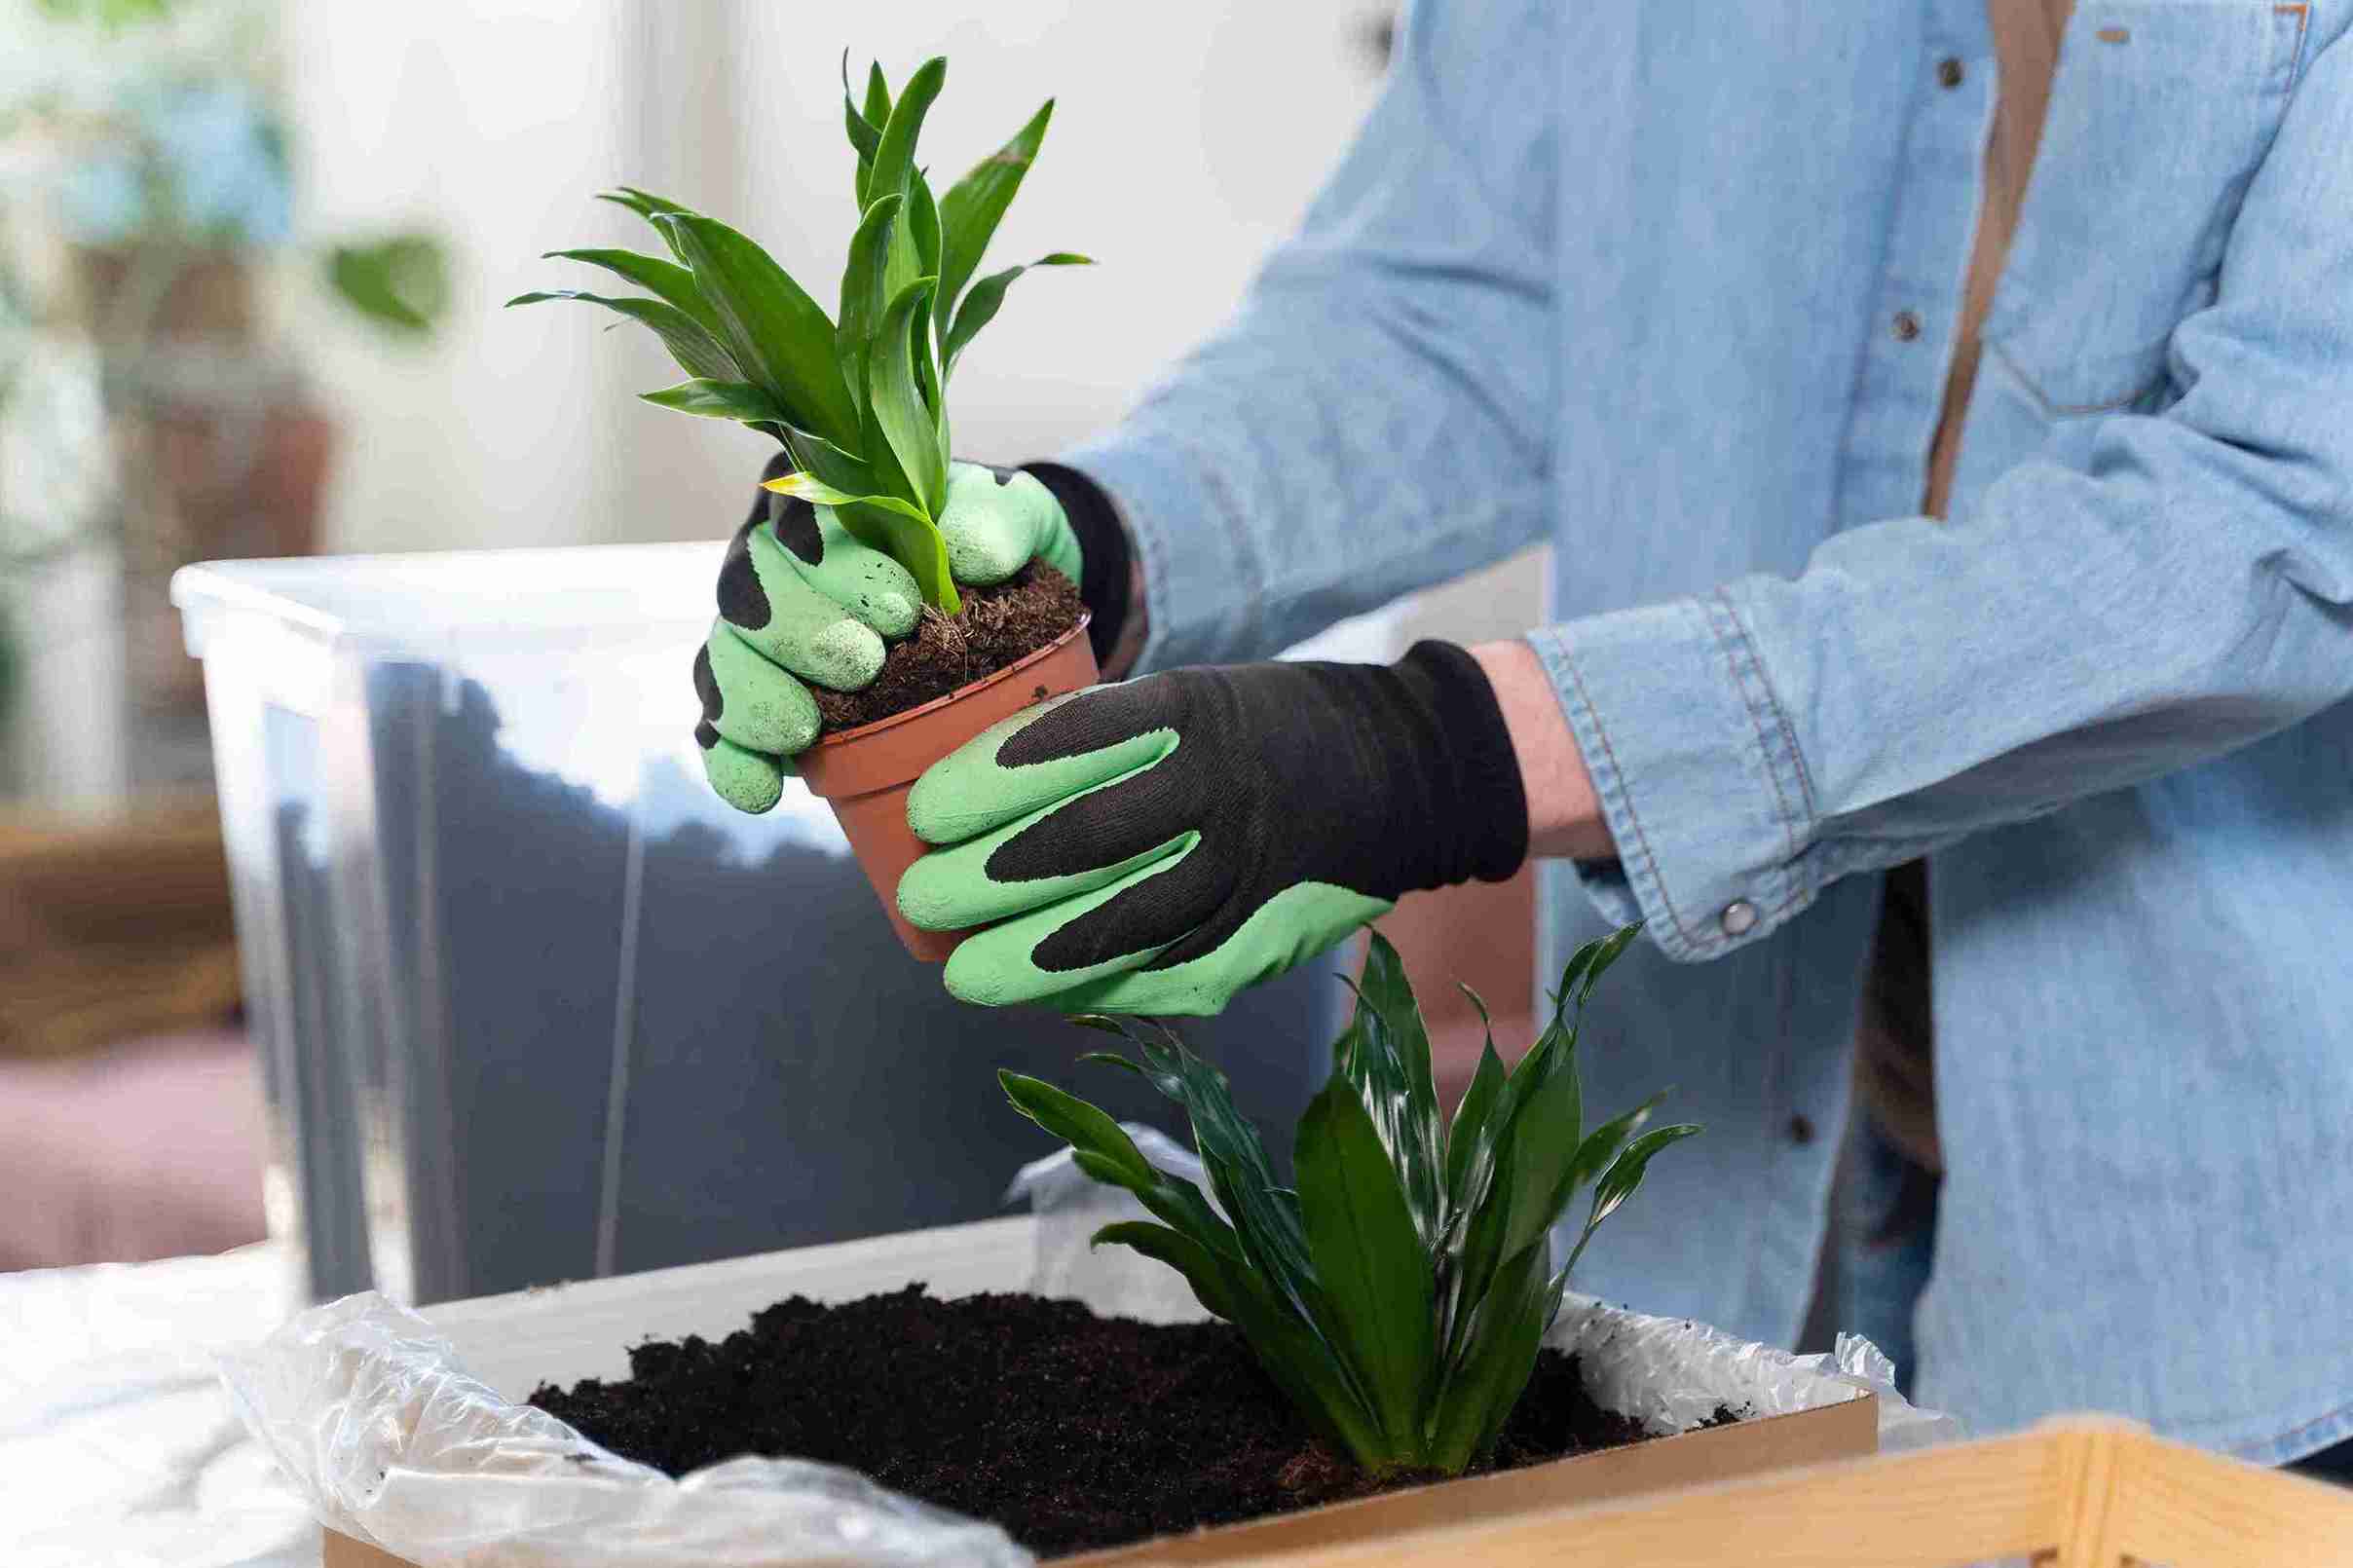
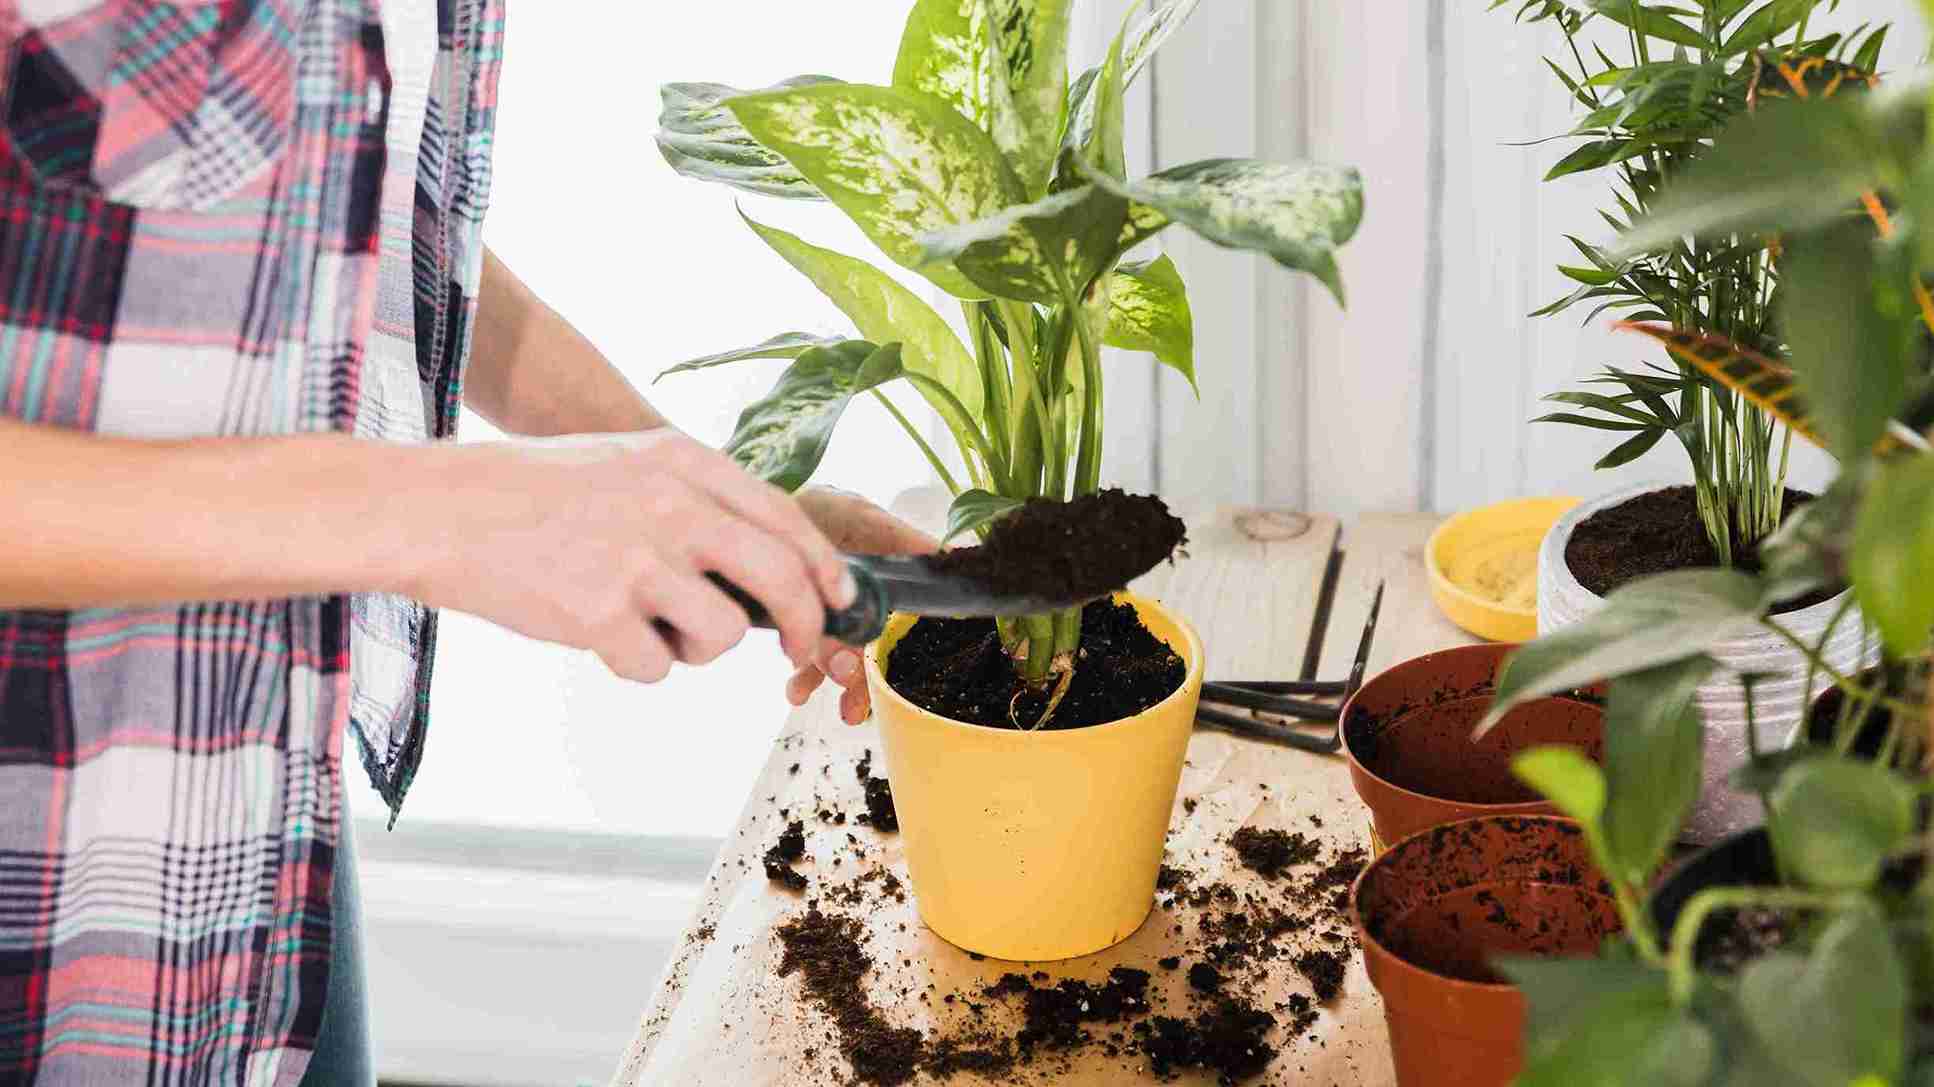
Once the plant was out, I prepared the new pot. I filled it with fresh potting mix, which was about one-third full. I made sure the soil was loose, not packed. I held the plant by its base again. Then, I placed it in the center of the new pot. I added more soil around the roots.
I pressed it down gently with my fingers. I made sure the plant sat at the same height. I didn’t bury the stem too deep. I left a little space at the top of the pot. That space helps when I water later. I tapped the pot to remove air pockets. I checked that the plant stood straight. I watered it lightly with room temperature water. I never soak the soil too much.
After that, I placed the plant in a bright room. But I kept it away from direct sunlight. That gives the plant time to adjust. I didn’t touch or move it for a few days. I just watched and waited. New leaves started to grow soon. That made me so happy. I learned that careful placement helps avoid stress. My plant looked fresh and healthy in its new home.
How I Helped My Plant Adjust After Repotting
After repotting, I knew my plant needed time to adjust. I didn’t water it too much. I waited until the topsoil felt dry. I also kept it away from too much light. I gave it bright, indirect light instead. I didn’t feed it fertilizer right away. I waited two weeks before feeding. That gave the roots time to settle. I also checked the leaves every day.
If they drooped, I gave the plant some water. I kept the room warm and quiet. No cold drafts or loud noises. I didn’t move the pot around. I let it stay in one place. I spoke kindly to the plant every day. I believe plants can feel care. I wiped the leaves gently with a soft cloth. That kept them clean and fresh. Within a week, I saw new growth.
Tiny leaves made me smile. I knew the plant was happy. It didn’t go into shock. I felt proud of how I helped. I now use this routine for every repotting. It works well and keeps my plants strong. The key is to be gentle and patient. Plants need love, not just soil and water. I always remember that.
Can a Plant Die from Transplant Shock?
Yes, I’ve had one die from transplant shock before. It was a small tomato plant I moved in the summer. I forgot to water it right after replanting. The leaves wilted fast and never recovered. Within a week, the whole plant turned brown.
The roots never adapted to the new soil. When the shock is too severe, the plant can die, especially if it’s already weak or under stress. But not all hope is lost. Many plants bounce back with care. Early action makes a big difference. Never ignore the signs of shock.
How to Treat Plant Transplant Shock?
When I treat transplant shock, I follow simple steps. First, I water the plant thoroughly. I make sure the roots stay moist but not soaked. Then, I placed the plant in indirect light. Too much sun can stress it further. I avoid disturbing the roots again.
I don’t fertilize for at least two weeks. I let the plant rest and recover. I prune any dead or damaged leaves. That lets the plant focus on healing. I also check the soil daily for moisture. Gentle care always brings better results. Most plants just need time and love.
Why Do Plants Wilt After Repotting?
I repotted my plant once, and it wilted overnight. I panicked. But then I learned it was normal. Plants go through stress when we move them. Their roots get disturbed during repotting. Even if we’re gentle, it’s still a shock. Sometimes, the roots get slightly damaged.
This slows down water and nutrient absorption. The new soil can also feel unfamiliar to the plant. Light, humidity, and temperature changes also matter. I noticed my plant looked droopy but not dry. I kept the soil slightly moist, not soaked. After a few days, it started to recover. I didn’t move it or mess with it again. Now, I always expect some wilting after repotting. It’s just part of the process.
Common Mistakes When Repotting Indoor Plants
I’ve made many mistakes while repotting my indoor plants. First, I used a pot that was too big. The excess soil held too much water. That caused root rot later. Then, I forgot to loosen the roots before planting. The roots stayed clumped and didn’t spread out.
I also used the wrong type of soil once. It didn’t drain well and suffocated the roots. Once, I watered the plant too much right after repotting. That made things worse. Another time, I repotted during peak sunlight hours. The plant couldn’t handle that stress. I even forgot drainage holes once. Big mistake. I learned to be patient and gentle. Now, I double-check everything before repotting.
Can You Repot Plants During Winter?
I tried repotting one of my plants in the winter. It didn’t go well. Plants usually rest during winter months. They don’t grow much and conserve energy. When I repotted, the roots didn’t adjust quickly. The cold air made it worse. The plant looked lifeless for weeks.
I realized that spring or early summer would be better. That’s when plants actively grow. They heal faster and settle into the new pot. If I must repot in winter, I do it carefully. I make sure the room is warm and bright. I avoid watering too much. Still, I wait for spring whenever I can. It’s always a safer bet.
How Often Should You Repot Indoor Plants?
I used to repot my plants randomly. Sometimes once a year, sometimes never. But I learned to check for signs. If roots grow out of the drainage holes, it’s time. If water sits on top and doesn’t soak in, I consider repotting. When leaves turn yellow or growth slows, I inspect the roots.
Some plants need repotting every one to two years. Others, like cacti, can go longer. I usually check each plant in spring. If the roots are crowded, I repot them. I go up only one pot size at a time. It keeps things simple and safe for the plant.
Conclusion:
Repotting an indoor plant without causing shock requires careful preparation and gentle handling. By selecting the right pot, using fresh soil, loosening the roots, and transplanting with care, you can ensure your plant adapts smoothly to its new environment.
Proper watering and post-repotting care, such as monitoring light and humidity levels, are crucial for minimizing stress. Remember, patience is key—plants may take time to adjust. With thoughtful attention to detail and a nurturing approach, you can successfully repot your indoor plant while promoting its health and growth. This process strengthens your bond with nature and keeps your greenery thriving indoors.
FAQ
How to repot indoor plants safely
Lift the plant gently and remove extra soil from the roots. Place it in fresh soil and water it lightly.
Preventing transplant shock in houseplants
Water the plant before and after moving it to new soil. Keep it in soft light and avoid too much sun.
Best soil for repotting indoor plants
Use light, well-draining soil made for houseplants. It helps roots breathe and grow better.
Tips for repotting potted plants
Choose a pot that’s a bit bigger than the old one. Gently loosen roots and use fresh soil.
How to avoid plant shock during repotting
Water well and keep the plant in a calm, shady spot. Do not cut too many roots at once.
Signs of transplant shock in houseplants
Leaves may turn yellow, fall off, or droop. The plant might stop growing for a while.
How to recover plants from repotting stress
Give water, soft light, and rest for a few days. Don’t fertilize until the plant grows again.
Best practices for repotting houseplants
Repot every year or two with fresh soil and clean pots. Always check roots and trim the bad ones.
How to repot a plant without damaging roots
Soak the soil to loosen it before taking out the plant. Hold the base and shake gently to free roots.
Step-by-step guide to repotting houseplants
- Water the plant.
- Remove it gently.
- Loosen roots.
- Add soil to a new pot.
- Place plant.
- Water again.
Best time of year to repot houseplants
Spring is best because plants wake up and grow fast. Avoid winter unless it’s urgent.
Tools needed for repotting indoor plants
You need gloves, scissors, a small shovel, and a clean pot. A watering can is helpful, too.
Best pots for repotted houseplants
Use pots with drainage holes and a size just one up. Clay or plastic both work well.
Recommended fertilizers after repotting plants
Wait 2 weeks, then use a gentle liquid plant food. It boosts new root growth safely.
Organic soil mix for transplanting indoor plants
Use compost, peat, coco coir, and perlite mixed together. This keeps soil light and full of food.
Drainage solutions for newly potted plants
Add small stones or use pots with holes at the bottom. This stops water from staying too long.